The ABCs of Making Cheese
By Noel Morata
Among the forgotten skills of homemade foods in a fast-food world is the fine art of crafting cheese. Taking a cheesemaking class is a great introduction to learning this craft; you do not have to invest in a lot of equipment and you can experiment before you dive into it in depth.
On Hawai‘i Island there are a few sources of cheesemaking classes. Slow Food Hawai‘i occasionally teaches cheese classes and will advertise through the local papers. Also, Vicki Dunaway in Honoka’a offers private group lessons in a one-day session. These classes are so popular that there is a wait list of people wanting to sign up and learn about making their own cheeses. Vicki is a local cheese maker originally from Virginia, where she was the owner of a cheese dairy. Now transplanted to Honoka’a where she works with Hawai‘i Island Goat Dairy, Vicki spent a day with us recently so we could learn the craft of making cheese.
The Sunday class is held at the home of Tom Burton off Kolekole Park on the Hamakua Coast, which is an ideal location for our cheesemaking course. The large, spacious kitchen with commercial-grade appliances easily accommodates the ten students and our instructor. Today, Vicki is teaching newbie cheesemakers the art and science of making their own cheeses, planning to show us the basics from start to finish by producing mozzarella, feta, and havarti cheeses.
The assembled group includes a variety of cheese enthusiasts from around the island and also a couple from O‘ahu who are planning to establish their own dairy farm in O‘ahu and create specialty cheese. A few other participants have their own cows or goats and want to learn cheese making with their free milk sources. During a casual, morning meet-and-greet session, we have a chance to peruse the various cheese books that Vicki has brought along with her. We anxiously gather around to listen to her introduction and are each given a packet full of information, reference guides and various cheese paraphernalia catalogs. Everyone is attentive as the demonstration eventually starts. Since we are making three separate cheeses, and some take more preparation time, Vicki starts us off with making the mozzarella, which takes the longest to set up.
The first thing she reviews is key ingredients and the quality of the ingredients chosen. The four main ingredients that make all cheeses include milk, salt, the starter cultures and rennet (enzymes that are used for making the milk solidify quickly and separate the solids from liquids).
Fortunately, with the influx of online supply retailers, many of the specialty ingredients are now easily available with the click of a mouse. The key ingredient, milk, is discussed in more detail. Vicki explains key differences in using cow’s milk versus goat’s milk or sheep’s milk. Each type varies in fat content, and the milk chosen produces different yields. What the animals eat also influences the overall content and quality of the milk.
Vicki informs us, “Milk can be utilized from any of these animals and even mixed milk is wonderful to use depending on what cheese you would like to create,” Vicky says. Fortunately on the Big Island, certain types of pasteurized milk are readily available from grocery stores like KTA and Foodland. Vicki also favors raw milk if you can source it locally from ranchers or small farms around the island.
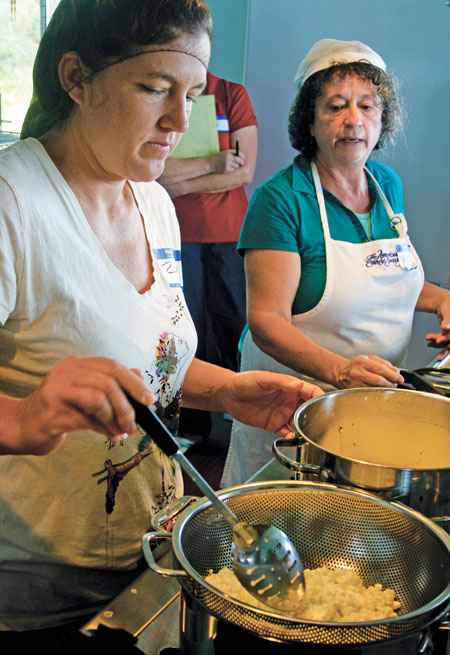
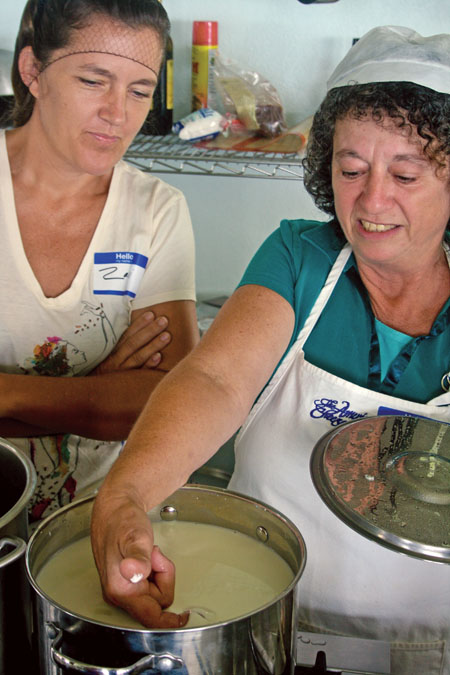
To make our first cheese, mozzarella, Vicki encourages the group to participate with a hands-on approach. Each person pours the goat’s milk into a large pot for heating the milk, which is then set into another pot filled with water to prevent scalding. The milk is stirred and monitored to reach 90 degrees before the starter mix is applied. Lots of careful stirring and monitoring with the thermometer goes on as the spoon is passed from person to person. Meanwhile, Vicki explains, “A clean environment is very important in the cheesemaking process. You need to sterilize all utensils and equipment before the process gets started.” She then demonstrates the sterilization process for cleaning all the utensils and equipment. During the session, Vicki injects humor about past experiences and mishaps in her cheesemaking career. Her stories about past mistakes, puts everyone at ease, knowing that this is a learning experience and that making mistakes is a natural part of the process.
Continuing what will eventually become mozzarella, Vicki adds the appropriate doses of starter cultures. After various stages of mixing, checking temperatures and then waiting some more, the rennet for hardening is finally added to the mixture. We learn the French technique of stirring from the bottom to the top 20 times to get the rennet mixed completely, so the curds will harden effectively. The process is definitely slow and laborious, but still interesting because our enthusiastic group peppers our instructor with many questions on various topics about cheese making.
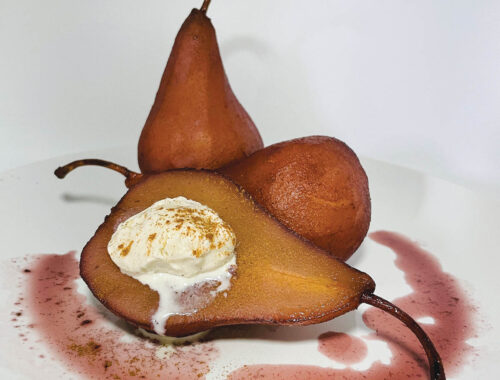
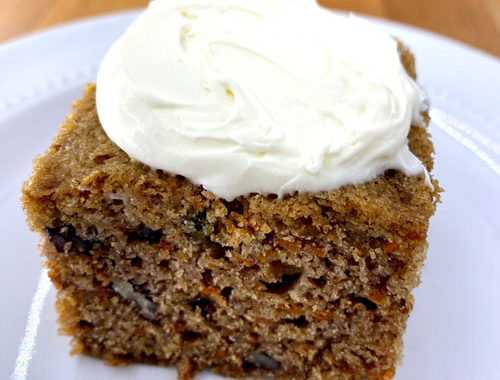
A really nice touch to Vicki’s class is the cheese appreciation session in between the cooking segments when we learn by tasting the different varieties of soft, semi-soft to harder cheeses. Everyone anxiously takes samples including a triple-cream cheese, a gouda cheese, a blue-cheddar combination, and a mixed-milk cheese made with goat, cow and sheep milk from Spain, and it is all delicious.
While the mozzarella is in the stiffening process, the group proceeds with the havarti and feta cheeses. The beginning process is very similar to mozzarella with heating the milk, but this time we use cow milk for the havarti cheese, and goat’s milk for the feta. While the heating milk part is similar, the process changes when you start adding the different starter cultures, the flavoring and the rennet. As you proceed to the finishing techniques, like brining and aging, each cheese develops its unique characteristics and flavors.
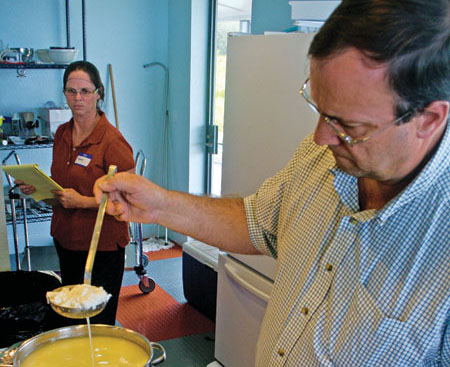
We get to the next stage when the milk solidifies and the participants get to feel the texture of the cheese. This is done by testing for a ‘clean break,’ which happens when you cut the curd with your finger and it slices easily. At this point the class takes turns slicing up the curds into half-inch cubes and separating the curds from the whey, which is a watery byproduct. More hands-on techniques are demonstrated in separating the curds from the whey. As the whey is poured into jars, Vicki talks briefly about the whey byproduct, which can go into other foods, including cottage cheese and a stock base, or can be used as a fertilizer or feed for domestic pets or farm animals.
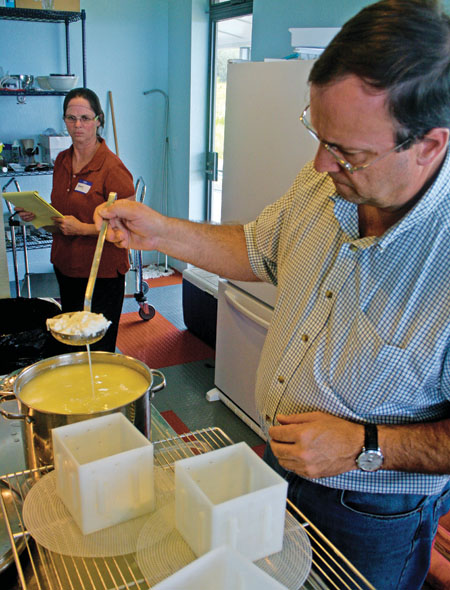
The next part of the production process covers molding, in which the curds are transferred into the cheese molds. The group performs a task called “hooping,” which is filling up the molds with the curds and letting the curds firm up and drain the excess whey. After the curds start to compact, the mold is then flipped upside down to make them even more firm. With more repetitions of waiting, then flipping the molds and more waiting, the cheese is eventually firmed up and ready for the brining process. Depending on the type of cheese being made, the molding and firming stage can take a few days to complete.
Despite spending most of the day crafting the three cheeses, we only make it to the brining stage. Our instructor gives a brief overview of the brining process and then how to age the cheese. She explains that more detailed instructions are in the packet covering the brining and aging applications. This is acceptable to the group since everyone’s attention span has waned toward the end of the day. The remainder of the afternoon session covers a question and answer period, and later Vicki invites the group to join a Yahoo cheesemaking forum to continue their cheese progress.
Overall, the group learned a lot about cheesemaking in just one short day of instruction. Each person left very confident that with all the hands-on training, we could start making homemade cheeses on our own. ❖
If you are interested in taking a course with Vicky Dunaway, you can contact her by email at Vicki@smalldairy.com. She also has a general website which will eventually have a Hawai‘i section, www.smalldairy.com. Slow Food Hawaii also offers basic cheesemaking courses occasionally through their website, www.slowfoodhawaii.org. Contact Noel Morata at emorata@yahoo.com.
Photos by Noel Morata.
Noel Morata
Noel resides in Orchidland, a subdivision in Puna. He loves living on the east side and being an active participant to all the amazing music, diverse cuisine, culture, history, and simple pleasures of living on our beautiful island. He enjoys doing photography and dabbles in various fine art mediums including ceramics, acrylic, and watercolor. He also works occasionally on video projects and freelances for Ke Ola Magazine. There are so many interesting people and places in Hawaii and he loves share wonderful stories about this special island.