Local Foods: For the Love of Chocolate – And a Recipe for Maunakea Truffles
By Brittany P. Anderson
What better way to say ‘I love you’ than with a delightful chocolate candy? As Valentine’s Day approaches, lovers all over the country will be in pursuit of the melt-in-your-mouth confection. Victorian age etiquette books warned that an exchange of chocolates between a man and a woman was equivalent to an engagement proposal.
I do love chocolate, but it just doesn’t hold the same meaning today as it did in Victorian times. Once a delicacy, today chocolate is found in stores year round and specialty chocolate shops are popping up on Hawai‘i Island in both Hilo and Kailua-Kona.
Cacao has become a popular crop on Hawai‘i Island. As demand for chocolate increases worldwide, Hawai‘i Island cacao farmers are honing their production skills. You can find multiple Hawai‘i Island farms listed as the point of origin for several local chocolatiers’ products, and some farmers are even producing their own chocolates from their very own cacao. Bean-to-bar chocolate classes are also popular across the island and the delicious annual Big Island Chocolate Festival celebrates all things chocolate.
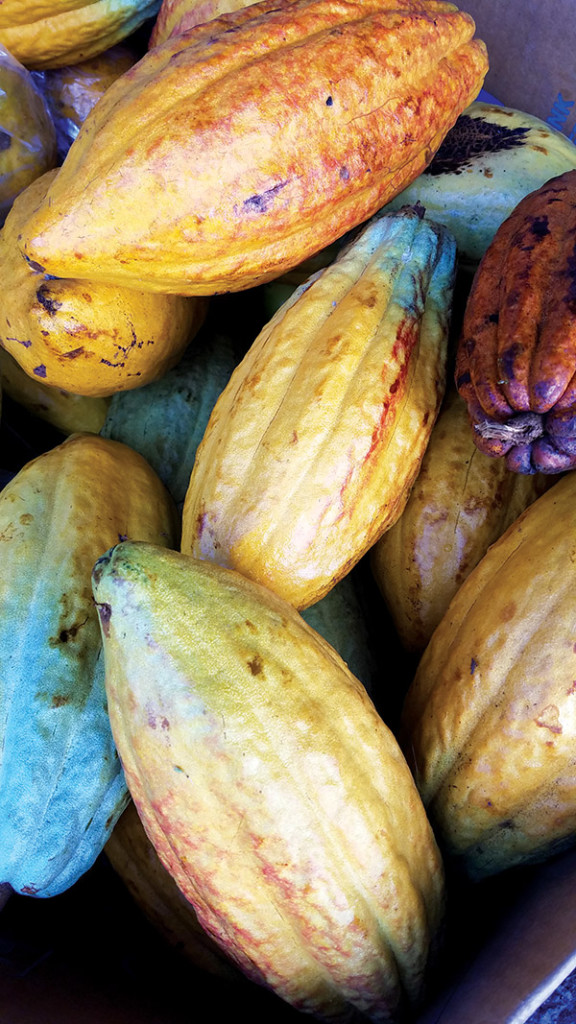
Candy bars don’t grow on trees—or do they? The cacao bean is processed and sweetened to make the tasty chocolate treat exchanged between friends and sweethearts. Cacao trees are a small tree with large broad leaves and tiny white flowers that bloom directly on the trunk and branches. A hard, ribbed pod containing up to 60 fruit-covered beans is borne from the flowers. Pods come in a variety of colors—from striking flame orange to cool ice blue. They are about the size of a football though slightly narrower.
 There are three main types of cacao; Criollo, Forastero, and Trinitario. Lucky for us, all three varieties grow exceptionally well on Hawai‘i Island. Cacao is grown from the bean and enjoys high humidity, plenty of rainfall, and high temperatures. The cacao tree is indigenous to the Amazon basin of Central America where it has been cultivated for at least 2,000 years. It was used by the Maya people to create a drink made of cacao beans, maize, and hot chili peppers all boiled in water. When the Spaniards came, they preferred to add sugar and vanilla to the drink. Soon, the sweetened chocolate beverage became fashionable in Europe—predating coffee and tea!
Ripe pods are cracked open, their white pulpy fruit-covered beans are removed and then fermented for several days. Surprisingly, the pulp doesn’t taste like chocolate at all; it has a light sweet lemonade flavor. After fermenting, the pulp is cleaned off and the beans are then dried.
To make chocolate, cacao beans are roasted after they dry, ground into a paste, and then a sweetener is added. Once the mixture is silky smooth it can be poured into molds to make bars. Sounds easy? Well, it is yet—it isn’t. If you planted your cacao seeds this year, you would have to wait about five years to harvest. Plus, it takes several hundred beans to produce one pound of chocolate.
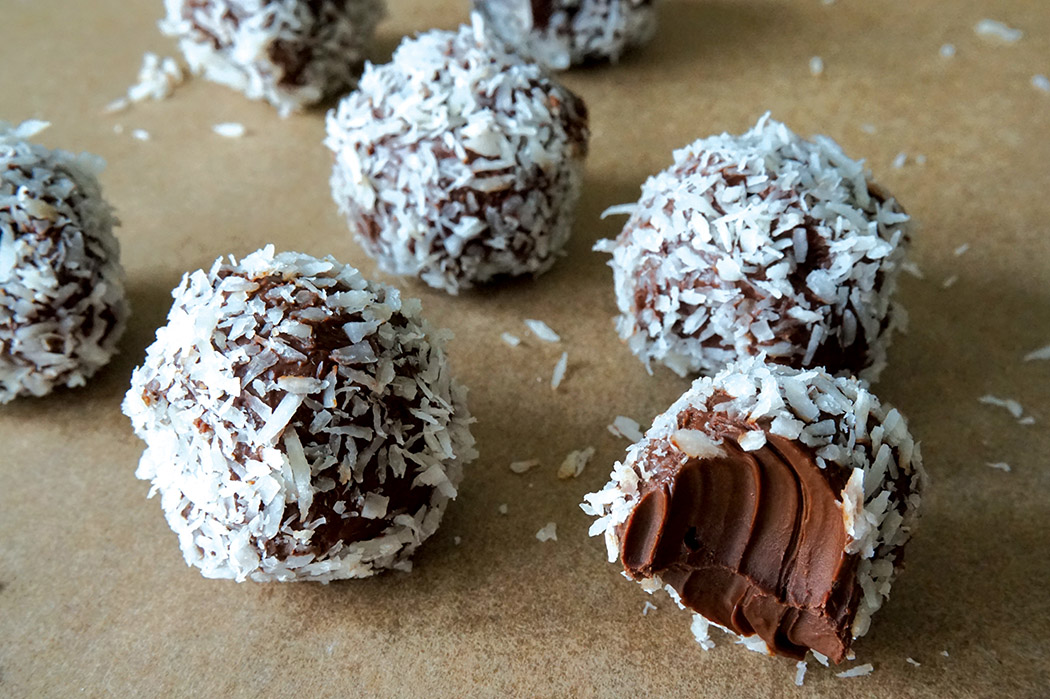
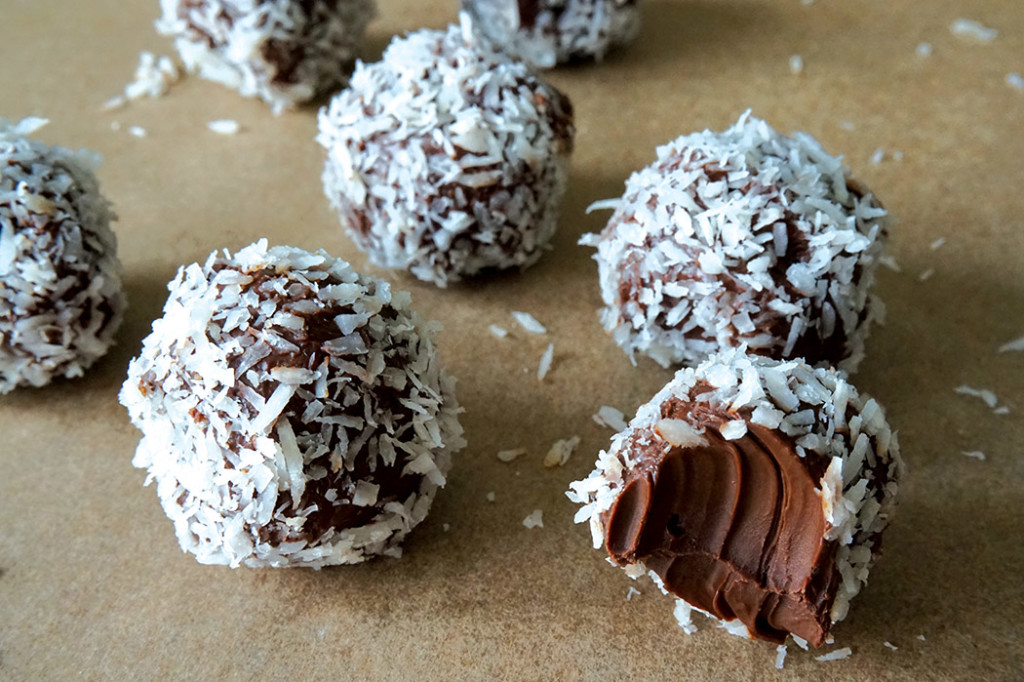
Growing and processing your own cacao is a rewarding challenge. If you aren’t willing to wait five years for a homemade chocolate treat, you can still purchase locally made chocolate to make this delightful Maunakea chocolate truffle. Once completed the delightful truffle looks like a little snowball!
Maunakea Truffles Recipe
Ingredients
3.5 oz chocolate bar
1 Tbs coconut oil, room temperature
¼ cup coconut cream, or the top of a coconut milk that isn’t shaken, room temperature
1 Tbs vanilla extract
1/2 cup shaved unsweetened coconut
Method
Place chocolate in a microwave-proof bowl and melt in the microwave using 30 second cycles, until fully melted. Add coconut oil and stir together thoroughly. While the melted chocolate is still warm, add coconut cream and vanilla. Stir together until well combined. Chill in the refrigerator for approximately 3 hours, so chocolate is hardened but still soft enough to scoop with a spoon. Place coconut shavings into a shallow bowl, set aside. Using a melon baller or a teaspoon, scoop out the chocolate. Roll each ball between your palms to form a smooth ball. Then, place in the shaved coconut to coat. You can place back in the refrigerator to set the coconut shavings or serve immediately. Cleaning up never tasted so good!
